
the bench is about 5 ft long and 30 inches deep... that's a huge bench. buying a cushion for it was going to be expensive... so i looked into options to keep the costs down by making my own. it would have been super easy to spend just as much money making one as buying one, but i only looked for outdoor fabric that was on sale and bought it in delaware to save on sales tax. (and thanks mom for flying with it out to SF so i didn't have to pay shipping once i found out they didn't actually have the fabric at the store the day i bought it in delaware)
below is a photo of the fabric arriving in SF... along with some cotton cording i got at a joanne's in the suburbs of denver (i think this cost around $20). the fabric ended up costing around $90 (plus the $25 extra bag fee on my mom's airline)

lucky for me they actually sold a 2" outdoor foam bench cushion that was 5 ft by 27"! it was around $100. so all together the bench cushion cost a bit over $200... which is a lot less than the $400+ i would have spent on getting it custom made. yay!

first step was making the cording. this required cutting long strips on the bias (diagonal) of the black fabric. this took a long time since i need two cords that were 5 ft + 27in + 5 ft + 27 in = more than14 ft each...

luckily my mom was in town visiting while i was working on this so she was able to help me since - who knew? - she'd made her own cording before.
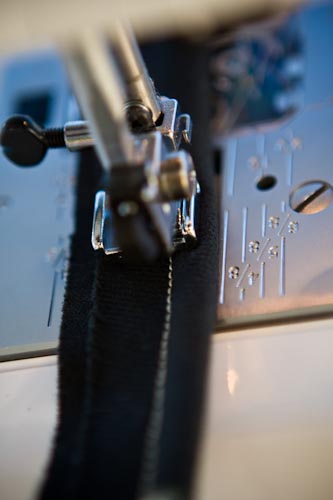


connecting the 2 ends of cording was pretty difficult and mom wasn't in town to help with that piece. i kind of just made something up and think it turned out good enough...

here is the bench completed with the pillows on it!

and here is the additional seating being put to good use.

the cushion has been getting pretty dirty since it's been raining a lot lately, but it's not too bad and i'm still pretty satisfied with the results... although not really satisfied with all the rain :)
This is so impressive! Thanks for showing the process. Oh I can't wait to visit you (someday, not sure when) and see your new flat!
ReplyDelete